How To Replace Auto Radiator By Yourself?
- linghangtechnology
- Jan 17, 2025
- 4 min read

Replacing an auto radiator might sound like a task reserved for seasoned mechanics, but with the right tools, a bit of patience, and guidance, you can do it yourself. Whether you're dealing with a traditional radiator or one equipped with an auto radiator plastic tank, the process remains straightforward with this guide. Whether you want to save money or simply enjoy the satisfaction of completing a repair job, this guide will walk you through the process step by step. Let's dive into the details of how you can replace your car's radiator effectively and safely.
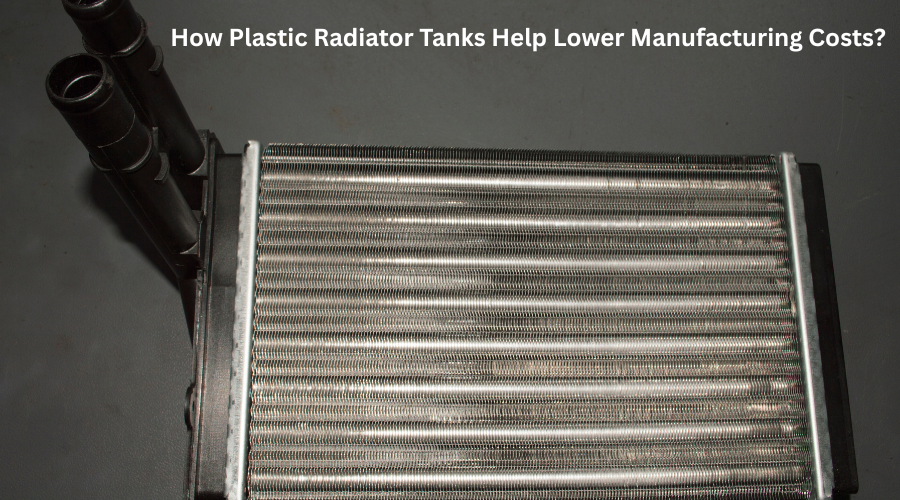
Understanding the Role of an Auto Radiator
Before we jump into the replacement process, let's take a moment to understand what a radiator does. Your car's radiator is an essential element of the cooling system. It helps regulate the engine's temperature by dissipating the heat generated during operation. A faulty radiator can lead to overheating, engine damage, and costly repairs.
Common signs that your radiator needs replacement include:
Frequent engine overheating
Coolant leaks under the car
Rust or debris inside the radiator
Unusual coolant levels
Poor heating performance in the cabin
If you've noticed any of these symptoms, it's time to consider replacing your radiator.
Tools and Materials You'll Need
Before starting, ensure you have the following instruments and resources on hand:
New radiator (ensure it matches your vehicle's make and model)
Wrenches and screwdrivers
Drain pan for coolant
Hose clamps
Pliers
Safety gloves and goggles
Coolant (recommended type for your vehicle)
Shop towels
Jack and Jack stands
Having everything ready will save you time and make the process smoother.
Step-by-Step Guide to Replace Your Auto Radiator
1. Safety First
Always concentrate on safety when working on your vehicle. Start by parking your car on a flat surface and engaging the parking brake. Allow the engine to cool down totally before beginning the replacement process. Hot coolant can cause severe burns, so never attempt this job with a hot engine.
2. Drain the Coolant
Locate the radiator drain plug, typically found at the bottom of the radiator. Place the drain pan underneath and carefully unscrew the plug to drain the old coolant. Be sure to dispose of the proper cooling agent, as it is toxic and harmful to the environment.
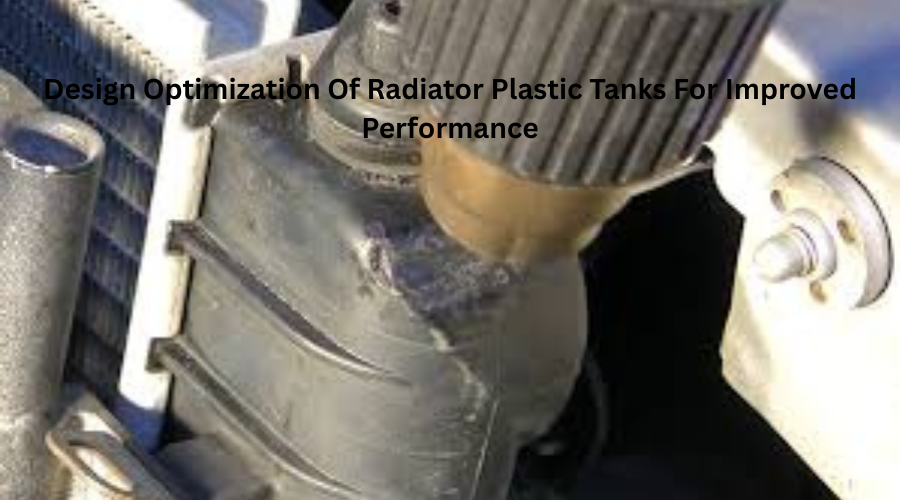
3. Remove Hoses and Connections
Use pliers to unscrew the hose clamps and disconnect the upper and lower radiator hoses. If your radiator has a plastic tank, handle it gently to avoid cracking or damage. Disconnect any electrical connections, such as the radiator fan or temperature sensor.

4. Remove the Radiator
Unbolt the radiator mounting brackets using a wrench. Carefully pull up the radiator out of the engine bay, ensuring you don't damage surrounding components. Be cautious, as the radiator might still have residual coolant.
5. Install the New Radiator
Position the new radiator in the engine bay and secure it with the mounting brackets. Reconnect the upper and lower hoses, ensuring they are tightly fastened with hose clamps. Attach any electrical connections and ensure all components are properly aligned.
6. Refill the Coolant
Using a funnel, slowly pour the new coolant into the radiator. Check your vehicle's owner's manual to confirm the correct type and amount of coolant. Fill the overflow reservoir to the recommended level as well.
7. Bleed the Cooling System
Start the engine and let it run for a few minutes to allow the coolant to circulate. Keep an eye on the temperature gauge and check for any leaks around the radiator and hoses. Some vehicles have a bleeder valve to release trapped air—use this if necessary.
8. Test the System
Turn off the engine and let it cool completely. Check the coolant levels again and top off if needed. Inspect for any signs of leaks or loose connections.
Tips for a Smooth Replacement Process
Double-check that the new radiator is compatible with your car.
Clean the surrounding area and hoses to remove any debris before installation.
Use an adjustable wrench to tighten bolts to the manufacturer's specifications.
Consider replacing the thermostat and radiator cap while you're at it, as these are inexpensive components that can prevent future issues.
When to Seek Professional Help
While replacing a radiator is a manageable DIY task, some situations may require professional assistance. If you encounter issues such as severe corrosion, stripped bolts, or complex engine layouts, it's best to consult a mechanic. Safety and proper installation are paramount to ensuring your vehicle runs smoothly.
Conclusion
Replacing your car's radiator by yourself is a satisfying project that can preserve you money and boost your confidence in handling vehicle maintenance. By following the steps outlined in this guide, you can tackle the job safely and efficiently. Always prioritize safety, and don't hesitate to seek professional help if needed.
With the right tools, preparation, and knowledge, you can keep your car's cooling system in top-notch condition. So, the next time your radiator shows signs of wear, you'll know what to do.
FAQs
Q: How long does it take to replace a radiator?
A: On average, replacing a radiator takes about 2-4 hours for a DIYer, depending on experience and vehicle complexity.
Q: Can I drive my car with a leaking radiator?
A: It's not recommended to drive with a leaking radiator, as it can cause the engine to overheat and lead to severe damage.
Q: How often should I replace my radiator?
A: Most radiators last 8-10 years, but this depends on the vehicle, driving conditions, and maintenance habits.
Q: Do I need to flush the cooling system before replacing the radiator?
A: Yes, flushing the cooling system ensures that no debris or old coolant contaminates the new radiator.
Q: Can I use tap water instead of coolant?
A: It's best to use the recommended coolant for your vehicle. Tap water can lead to geological deposits and corrosion over time.

Comments